Yes, you can cut plexiglass with a table saw, but it requires some precautions. Use a fine-toothed blade, adjust blade height, feed slowly, support the material, wear safety gear, consider cooling, and make test cuts. Plexiglass can be prone to chipping and melting, so take your time and prioritize safety for the best results.
How to Prepare the Workspace for Plexiglass Cutting?
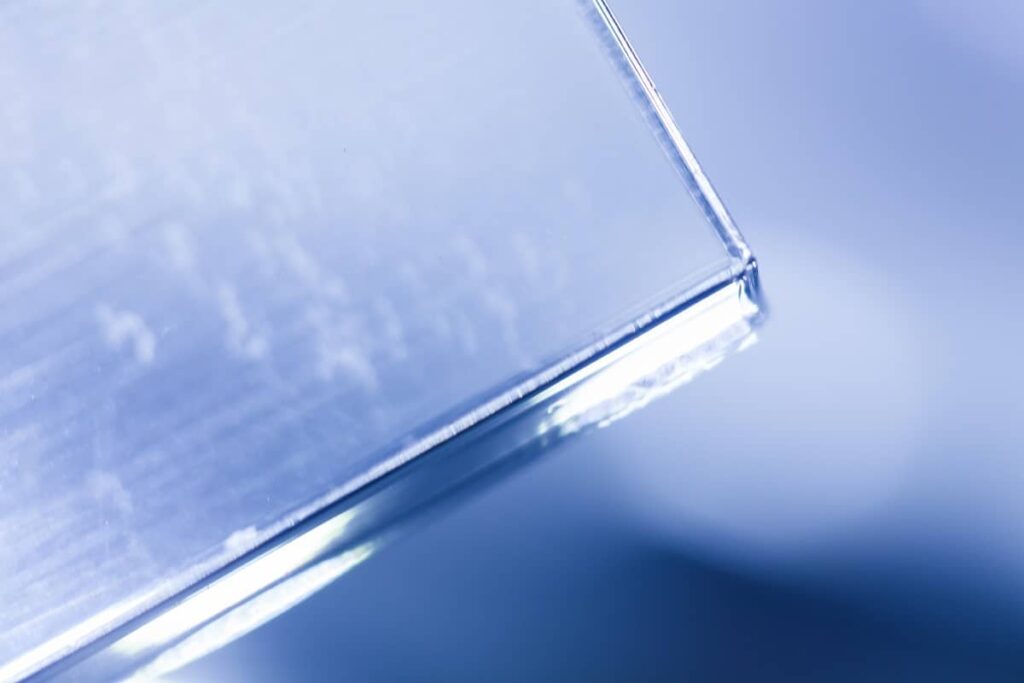
Proper preparation minimizes the risk of accidents and ensures clean, accurate results when working with this material.
Clearing the Area
- Clearing the area is essential to ensure a safe working environment when cutting plexiglass with a table saw. Remove any debris, clutter, or objects that might obstruct your movement around the saw.
- Keep the workspace well-lit to ensure you can see clearly, reducing the chances of accidents.
- Verify that there are no flammable materials nearby, as cutting plexiglass can generate heat.
Setting Up the Table Saw
- Start by checking the table saw for any damage or malfunctions. Ensure that the blade guard and safety features are functioning correctly.
- Adjust the table saw’s height and angle settings to accommodate the thickness and type of plexiglass you’re working with.
- Make sure the saw’s fence is parallel to the blade to ensure accurate cuts.
Securing Plexiglass
- Plexiglass sheets can be prone to vibration during cutting, which can lead to chipping or inaccurate cuts. Secure the plexiglass firmly to the table using clamps or another appropriate method.
- In addition, take care to support both sides of the plexiglass adequately to prevent it from sagging or breaking during cutting.
Adjusting the Saw Blade
Selecting the right saw blade is crucial. For plexiglass, a fine-toothed blade with a high tooth count (often around 80-100 teeth) is recommended to minimize chipping and melting.
Adjust the blade’s height to ensure it extends just slightly above the thickness of the plexiglass sheet. This prevents excessive friction and heat buildup.
However, if your table saw allows for speed adjustment, set it to a slower speed when cutting plexiglass. This helps prevent overheating and melting of the material.
In addition, some table saws have features like zero-clearance inserts that can be used to reduce chipping during the cut. Ensure these features are correctly installed and adjusted.
How to Cut Plexiglass with a Table Saw Safely?
Proper blade selection, speed adjustment, and cutting techniques are essential for successful plexiglass cutting projects.
Choosing the Right Blade
Plexiglass is a brittle material, and using the right saw blade is crucial for clean and precise cuts. Select a fine-toothed carbide-tipped blade with a high tooth count (80-100 teeth).
These blades are designed to reduce chipping and melting.
Consider the thickness of the plexiglass sheet. Thicker sheets may require a blade with
larger gullets to remove debris efficiently. However, a fine-toothed blade is still essential to minimize chipping.
Adjusting the Saw Speed
Some table saws offer adjustable blade speeds. When cutting plexiglass, it’s advisable to set the saw to a lower speed. This slower speed reduces friction and heat, minimizing the risk of melting the material.
Slower blade speeds also allow for better control and accuracy during the cut, especially when working with intricate shapes.
Making the Cut
Plexiglass should be fed into the table saw slowly and steadily. Avoid rushing the cut, as this can lead to chipping, melting, or inaccurate cuts.
Use a push stick or push block to guide the plexiglass through the blade, maintaining a safe distance from the blade itself. This minimizes the risk of injury.
Ensure that the plexiglass is fully supported throughout the cut to prevent sagging or vibrations that could result in a poor finish.
Preventing Chip-Out
Chip-out refers to the splintering or chipping of the plexiglass surface during the cut. To prevent this:
Apply masking tape along the cut line before you start. This can help reduce chipping.
Use a zero-clearance insert on your table saw if available. This provides additional support and reduces the likelihood of chip-out.
Make sure the blade is sharp and in good condition. A dull blade is more likely to cause chip-out.
Cutting Curves and Angles
Cutting curves and angles in plexiglass can be challenging but is possible with the right techniques:
For curves, consider using a jigsaw with a fine-toothed blade or a scroll saw, as they provide better maneuverability for intricate shapes.
When cutting angles, ensure that your table saw’s miter gauge is set accurately. Secure the plexiglass and make the cut slowly, maintaining precise control.
Practice on scrap pieces first to refine your technique before cutting complex shapes.
Final Words
In conclusion, cutting plexiglass with a table saw requires some careful steps to get the best results. First, choose the right blade with lots of teeth to avoid chipping. Adjust the saw to a slower speed to prevent melting and for better control.
When making the cut, go slowly and use a push stick to guide the plexiglass safely. To avoid splintering, you can use masking tape along the cut line and ensure the blade is sharp. When dealing with curves and angles, consider using tools like a jigsaw or scroll saw for better precision.
Furthermore, practice on scrap pieces to get the hang of it. With these steps in mind, you’ll be able to cut plexiglass with your table saw safely and accurately.