Cutting baseboard with a miter saw is a common task in carpentry and home improvement projects. A miter saw allows you to make precise angled cuts, which is especially useful when you need to join baseboards at corners or create clean, straight cuts for installation. Here’s a quick guides on how to cut baseboard with a miter saw:
- Ensure safety with protective gear.
- Measure and mark the cut on the baseboard.
- Set the miter angle for the desired corner (0 degrees for straight cuts).
- Adjust the bevel angle if needed.
- Position the baseboard against the saw fence.
- Lower the saw blade onto the marked line and make a smooth, controlled cut.
- Check the cut for accuracy and fit.
- Repeat for additional cuts, adjusting angles as necessary.
- Sand and finish the cut edges if needed.
How to maintain control when cutting with a miter saw?
By following these steps with precision and attention to detail, you can achieve clean and precise baseboard cuts with a miter saw while ensuring your safety throughout the process.
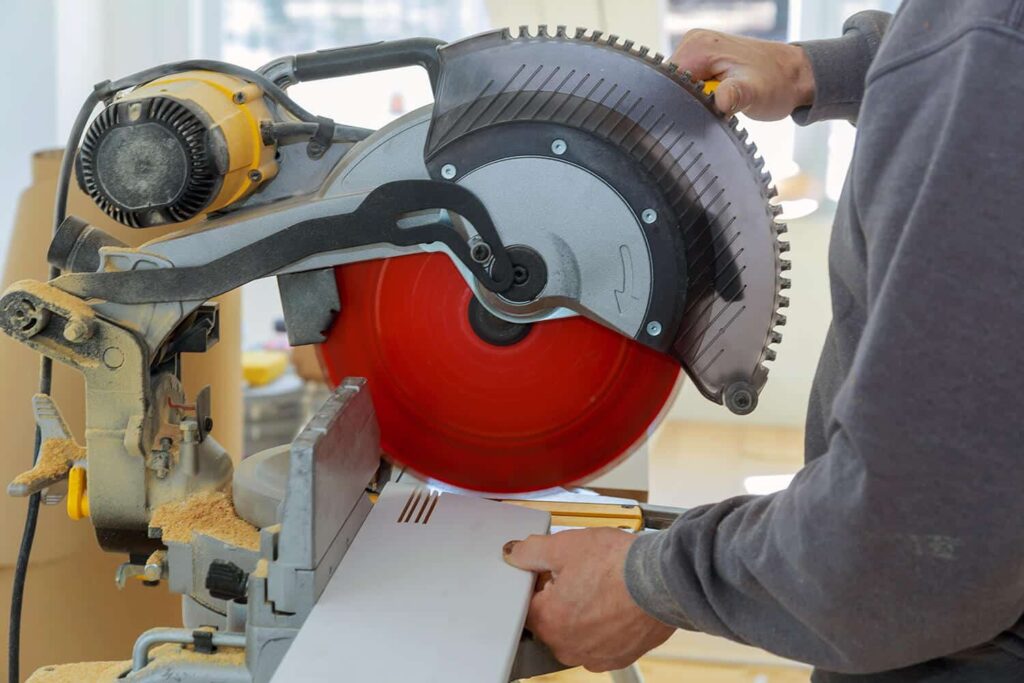
Proper positioning of the baseboard against the saw’s fence
Fence Alignment: The fence on a miter saw is the vertical surface that supports and guides the workpiece during cutting. It’s crucial to position the baseboard flat against the fence to ensure a precise and consistent cut.
Alignment with the Mark: Align the marked cutting line on the baseboard precisely with the saw blade.
Moreover, make sure the line is flush against the fence, and the baseboard is held securely in place. This alignment ensures that the cut will be accurate and on the desired angle.
Use Clamps (Optional): For added stability, especially when working with longer baseboards, consider using clamps to secure the workpiece to the saw’s table. This minimizes the risk of the baseboard shifting during the cut.
Lowering the saw blade steadily along the marked line
Smooth Start: When you’re ready to make the cut, gently squeeze the saw’s trigger or power button to start the blade. Allow the saw blade to reach its full speed before moving it into the baseboard.
Controlled Descent: Lower the saw blade slowly and steadily onto the marked cutting line. Maintain a firm grip on the saw’s handle and the baseboard to ensure stability throughout the cut.
Avoid Forcing: Do not force the saw through the baseboard. Let the sharp blade do the cutting work, and allow it to progress naturally. Forcing the blade can result in splintered or uneven cuts.
Stressing the importance of a controlled cutting motion:
Smooth Motion: Keep a steady and controlled motion as you guide the saw through the baseboard. Avoid sudden jerks or quick movements, as this can lead to inaccuracies in the cut.
Maintain Alignment: Moreover, pay close attention to the alignment of the marked line with the saw blade as you cut. If you notice any deviation, make slight adjustments to keep the cut on track.
Safety Awareness: Throughout the cutting process, maintain awareness of your hand placement and body position. Keep your hands clear of the blade’s path and maintain a safe distance.
Safely releasing the trigger and allowing the blade to stop after the cut
Once the saw blade has completely passed through the baseboard, release the trigger or power button immediately. This stops the blade’s motion.
Do not rush to lift the blade. Wait for it to come to a complete stop before raising it from the cut. This prevents any accidental contact with a moving blade, reducing the risk of injury.
After the blade has stopped, inspect the cut to ensure it meets your desired specifications. Make sure it’s clean, accurate, and free of splinters or irregularities.
Final Words
In conclusion, marking the baseboard accurately before cutting is vital for a successful woodworking project. Precise markings ensure that the cuts are made at the right spots, preventing wastage of materials and costly mistakes.
By taking the time to measure and mark carefully, woodworkers can ensure that their baseboards fit seamlessly into place, creating professional-looking finishes.
Furthermore, this attention to detail not only saves time and resources but also contributes significantly to the overall quality of the final product. So, whether you’re a beginner or an experienced craftsman, the simple act of accurate marking is the key to a well-executed baseboard installation.