To cut angles with a circular saw, follow these easy steps for a safe and accurate cut. First, measure and draw the angle you want on your wood. Set the circular saw’s angle to match your mark and make sure the blade depth is right. Put your wood on a steady surface and use clamps if you can to hold it in place.
Furthermore, start the saw and slowly push it along the marked line, being careful not to push too hard. When you’re done, turn off the saw and check your cut. Make sure it’s right, and if not, fix it. Always be safe, wear your safety gear, read your saw’s manual, and practice on scrap wood if you’re new to this.
How to gather tools and materials for angle cuts with a circular saw?
By paying close attention to these preparation and setup steps, you lay the foundation for a successful and safe angle cut with your circular saw.
Gather the necessary tools and materials:
Before you start cutting angles with a circular saw, it’s essential to gather all the tools and materials you’ll need. This includes the circular saw itself, the workpiece you intend to cut, safety equipment (safety goggles, ear protection, and a dust mask), a measuring tape, a pencil, a straightedge or carpenter’s square, and clamps if required. Having everything ready and within reach ensures a smoother and more efficient cutting process.
Ensure safety by wearing protective gear:
Safety should always be a top priority when using power tools. Before starting, put on your safety gear, which includes safety goggles to protect your eyes from debris, ear protection to reduce noise exposure, and a dust mask to prevent inhalation of sawdust. These precautions are vital to safeguard your well-being during the cutting process.
Measure and mark the desired angle on the material:
Accurate measurement and marking are crucial for achieving the intended angle cut. Use a measuring tape to determine the angle you want to cut, and then use a pencil to mark the line on your material.
However, if precision is essential, consider using a protractor or carpenter’s square to ensure the angle is correctly marked.
Set the circular saw’s bevel angle:
Circular saws have a feature that allows you to adjust the bevel angle of the blade. Loosen the bevel adjustment knob and set the saw to match the marked angle on your material. Properly setting the bevel angle is fundamental for making an accurate cut that matches your desired angle.
Adjust the blade depth appropriately for the material:
The depth of the circular saw’s blade needs to be adjusted to suit the thickness of the material you’re cutting. To ensure a safe and efficient cut, the blade should extend slightly below the material’s surface. This adjustment prevents the blade from protruding too much, reducing the risk of binding or splintering during the cut.
Secure the workpiece on a stable surface and consider using clamps:
To maintain control and safety, place your workpiece on a stable surface, such as a workbench or sawhorses. If the material is prone to moving or vibrating during cutting, consider using clamps to secure it in place. Clamps help ensure that the material remains steady, minimizing the risk of accidents and imprecise cuts.
How to make controlled cuts with a circular saw for angles?
Understanding and implementing these steps during the cutting process, you can ensure that your angle cuts are precise, safe, and free from imperfections.
Start the circular saw and allow it to reach full speed
Before making the cut, start the circular saw by squeezing the trigger. Allowing the saw to reach its full speed is crucial for ensuring a clean and efficient cut. Starting the cut with the saw at full speed reduces the likelihood of the blade binding or causing splintering in the material.
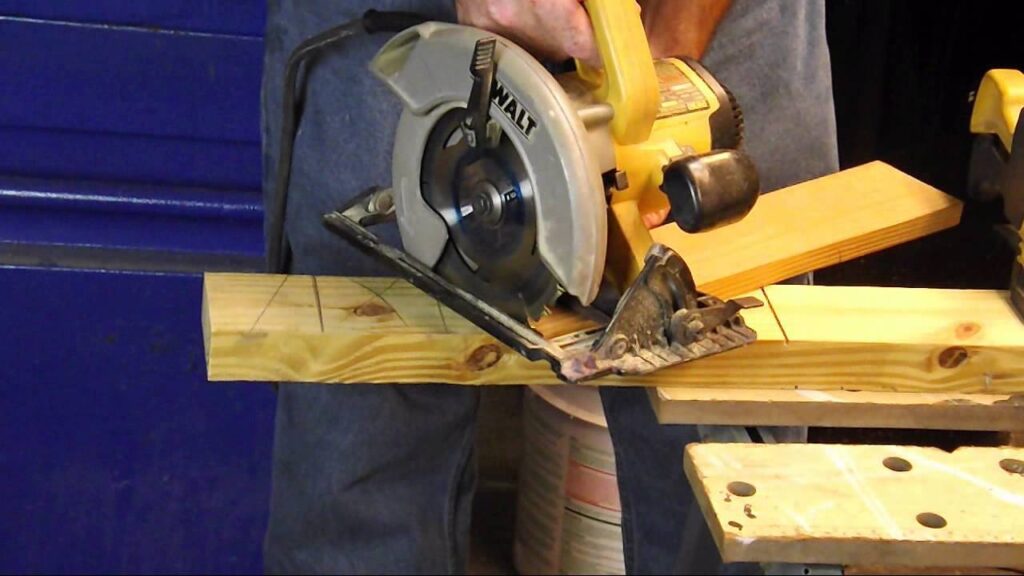
Guide the saw along the marked line with steady and controlled movements
Once the circular saw is at full speed, begin guiding it along the marked line on the material. It’s essential to maintain steady and controlled movements throughout the cut. Avoid pushing the saw too hard or too fast, as this can lead to rough or uneven cuts. Keep a firm grip on the saw with both hands and ensure that the base plate remains flat against the material for a precise angle cut.
Complete the cut and turn off the saw, waiting for the blade to stop
As you reach the end of the marked line, continue guiding the saw until you’ve completed the cut. After finishing the cut, release the saw’s trigger and keep the saw in place until the blade comes to a complete stop. Turning off the saw and allowing the blade to stop rotating before removing it from the material is crucial for safety and prevents accidents.
Inspect the cut for accuracy and make any necessary adjustments
Once the cut is complete and the saw is safely turned off, carefully inspect the cut to ensure it matches the desired angle. Check for any imperfections, such as splinters or uneven edges. If necessary, make any adjustments or refinements to achieve the desired precision. This may involve sanding rough edges or trimming any excess material.
Prioritize safety
Safety should always be a top priority when using power tools. It’s essential to follow the guidelines and safety precautions outlined in your circular saw’s user manual. If you’re new to cutting angles with a circular saw or if you’re working with unfamiliar materials, consider practicing on scrap pieces first. This allows you to familiarize yourself with the tool and the specific material, reducing the risk of errors or accidents during the actual project.
Conclusion
Cutting angles with a circular saw is a skill that can be both safe and accurate when you follow these steps. By preparing and setting up correctly, and then making the cut with care, you can achieve the desired angle in your workpiece. Always prioritize safety by wearing protective gear, reading your saw’s user manual, and practicing on scrap material if you’re new to this technique.