Cutting a 45-degree angle with a miter saw is a common woodworking and DIY task, especially when creating angled joints for frames, moldings, or other projects. Here are the quick steps to cut a precise 45-degree angle using a miter saw
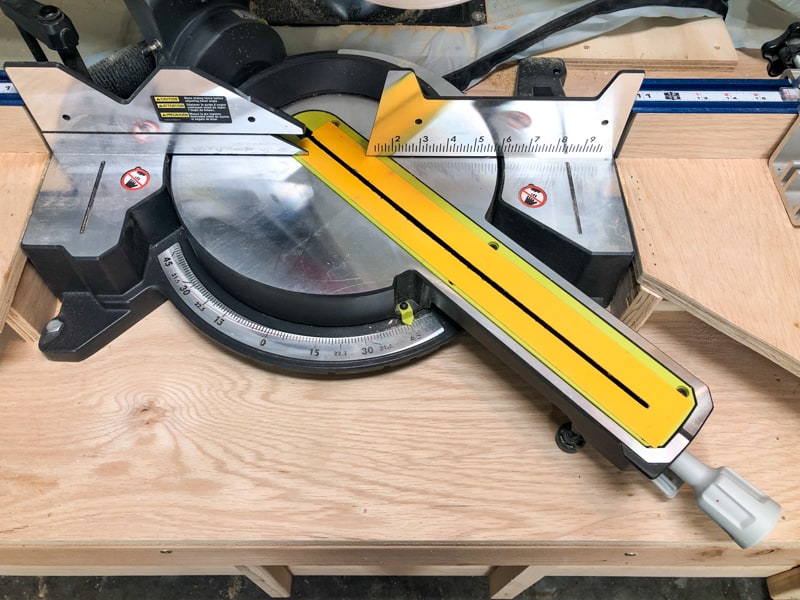
- Set up the miter saw at a 45-degree angle.
- Measure and mark your cut on the workpiece.
- Position and secure the workpiece on the saw table if needed.
- Put on safety gear and ensure dust collection.
- Turn on the saw, align the mark with the blade guide, and make the cut.
- Turn off the saw and inspect the cut for accuracy.
How to Prepare the Workpiece for a 45-Degree Miter Saw Cut?
Before making a precise 45-degree angle cut with your miter saw, proper preparation of the workpiece is essential to ensure accuracy and a clean finish.
Measuring and marking the 45-degree angle on the workpiece:
Use a measuring tape, square, or angle finder to accurately measure the desired length for your angled cut. Ensure that both ends of the cut are squared off.
Once you’ve determined the measurement, mark it clearly on the workpiece. To create a 45-degree angle, you’ll typically mark the point on the edge where the cut begins and ends.
In addition, double-check the accuracy of your measurement and the angle you’ve marked before proceeding. Precision at this stage is crucial for a clean and precise cut.
Positioning and optionally securing the workpiece on the saw table:
Place your workpiece on the miter saw’s table, ensuring that the portion you want to cut extends past the edge of the table where the blade will make contact.
However, if your workpiece is small or prone to movement during cutting, consider using clamps to secure it firmly to the saw table. This extra stability minimizes the risk of the workpiece shifting during the cut, ensuring a more accurate and safer operation.
How to Achieve a Perfect 45-Degree Miter Saw Cut?
Attaining a flawless 45-degree miter saw cut demands meticulous setup and execution;
Turning on the miter saw and waiting for the blade to reach full speed:
Before starting the cut, ensure the miter saw is properly plugged in or its power source is activated. Furthermore, press the power switch or trigger to turn on the saw and wait for the blade to reach its full speed.
In addition, this usually takes a few seconds and is crucial for a smooth and controlled cut. A spinning blade at full speed is less likely to bind or splinter the wood.
Holding and guiding the workpiece:
When you’re ready to make the cut, position yourself comfortably and securely in front of the miter saw. Keep a firm grip on the workpiece with both hands, ensuring that your hands are away from the path of the blade.
Moreover, maintain a stable stance and balance to control the workpiece during the cut. It’s essential to have full control to prevent any sudden movements that could lead to accidents.
Lowering the blade onto the workpiece and cutting along the marked line:
With the blade at full speed and the workpiece properly held and aligned, slowly lower the blade onto the workpiece. Ensure that the blade aligns precisely with the marked cutting line.
Furthermore, use a smooth and steady motion to push the blade through the wood, following the marked line. Avoid forcing the saw or rushing the cut, as this can result in a jagged or imprecise angle.
Completing the cut in a controlled manner:
Continue guiding the saw blade through the workpiece until you reach the end of the cut. Maintain a consistent speed and pressure to ensure a clean and accurate 45-degree angle.
Once you’ve completed the cut, release the trigger or turn off the saw and allow the blade to come to a complete stop before lifting it from the workpiece.
Final Words
In conclusion, cutting a 45-degree angle with a miter saw is a fundamental skill for woodworking and various DIY projects. It not only adds precision to your work but also ensures that your joints and angles fit together seamlessly.
This guide, emphasizes the importance of safety precautions, precise measurement, and controlled operation of the miter saw. Remember that practice and patience are key to mastering this skill.